Contact Record Overview
Let's Navigate Around Your Contact Records
Contact records contain any and all information regarding a prospect or lead.
Not only can personal information be stored in your records, but also the actions and interactions that you've had with a prospect or lead.
Contact records keep your business organized, so you don't have to worry.
Objectives
In this support article, you will learn step-by-step how to navigate around a contact record.
Steps
1. Log in to your account. Click on Contacts located at the top your dashboard menu.

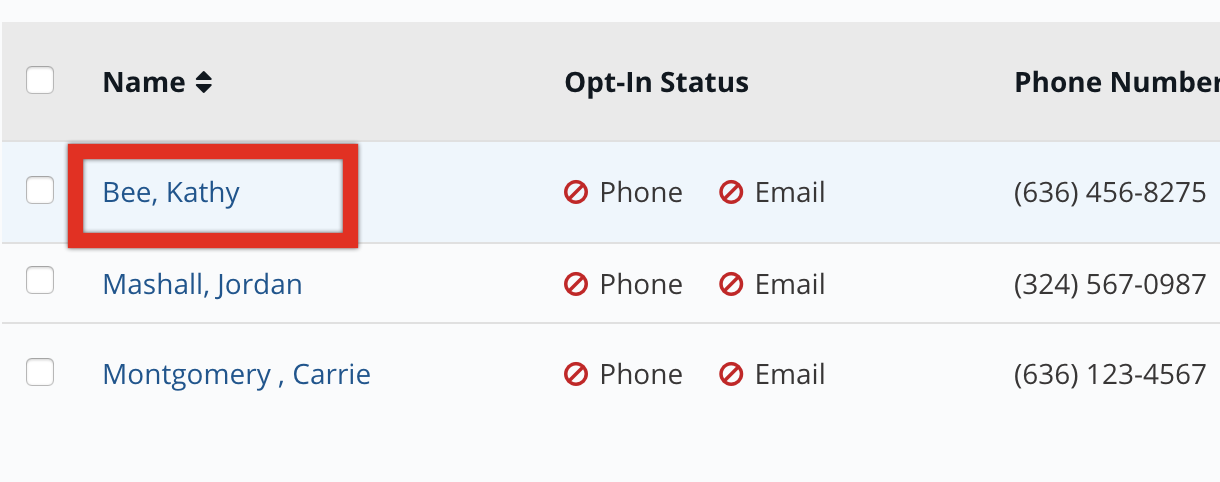
2. You will be directed to your contact management system. Here, you can see your list of contacts that you have created and/or imported.
To access a contact record, click on the desired name.
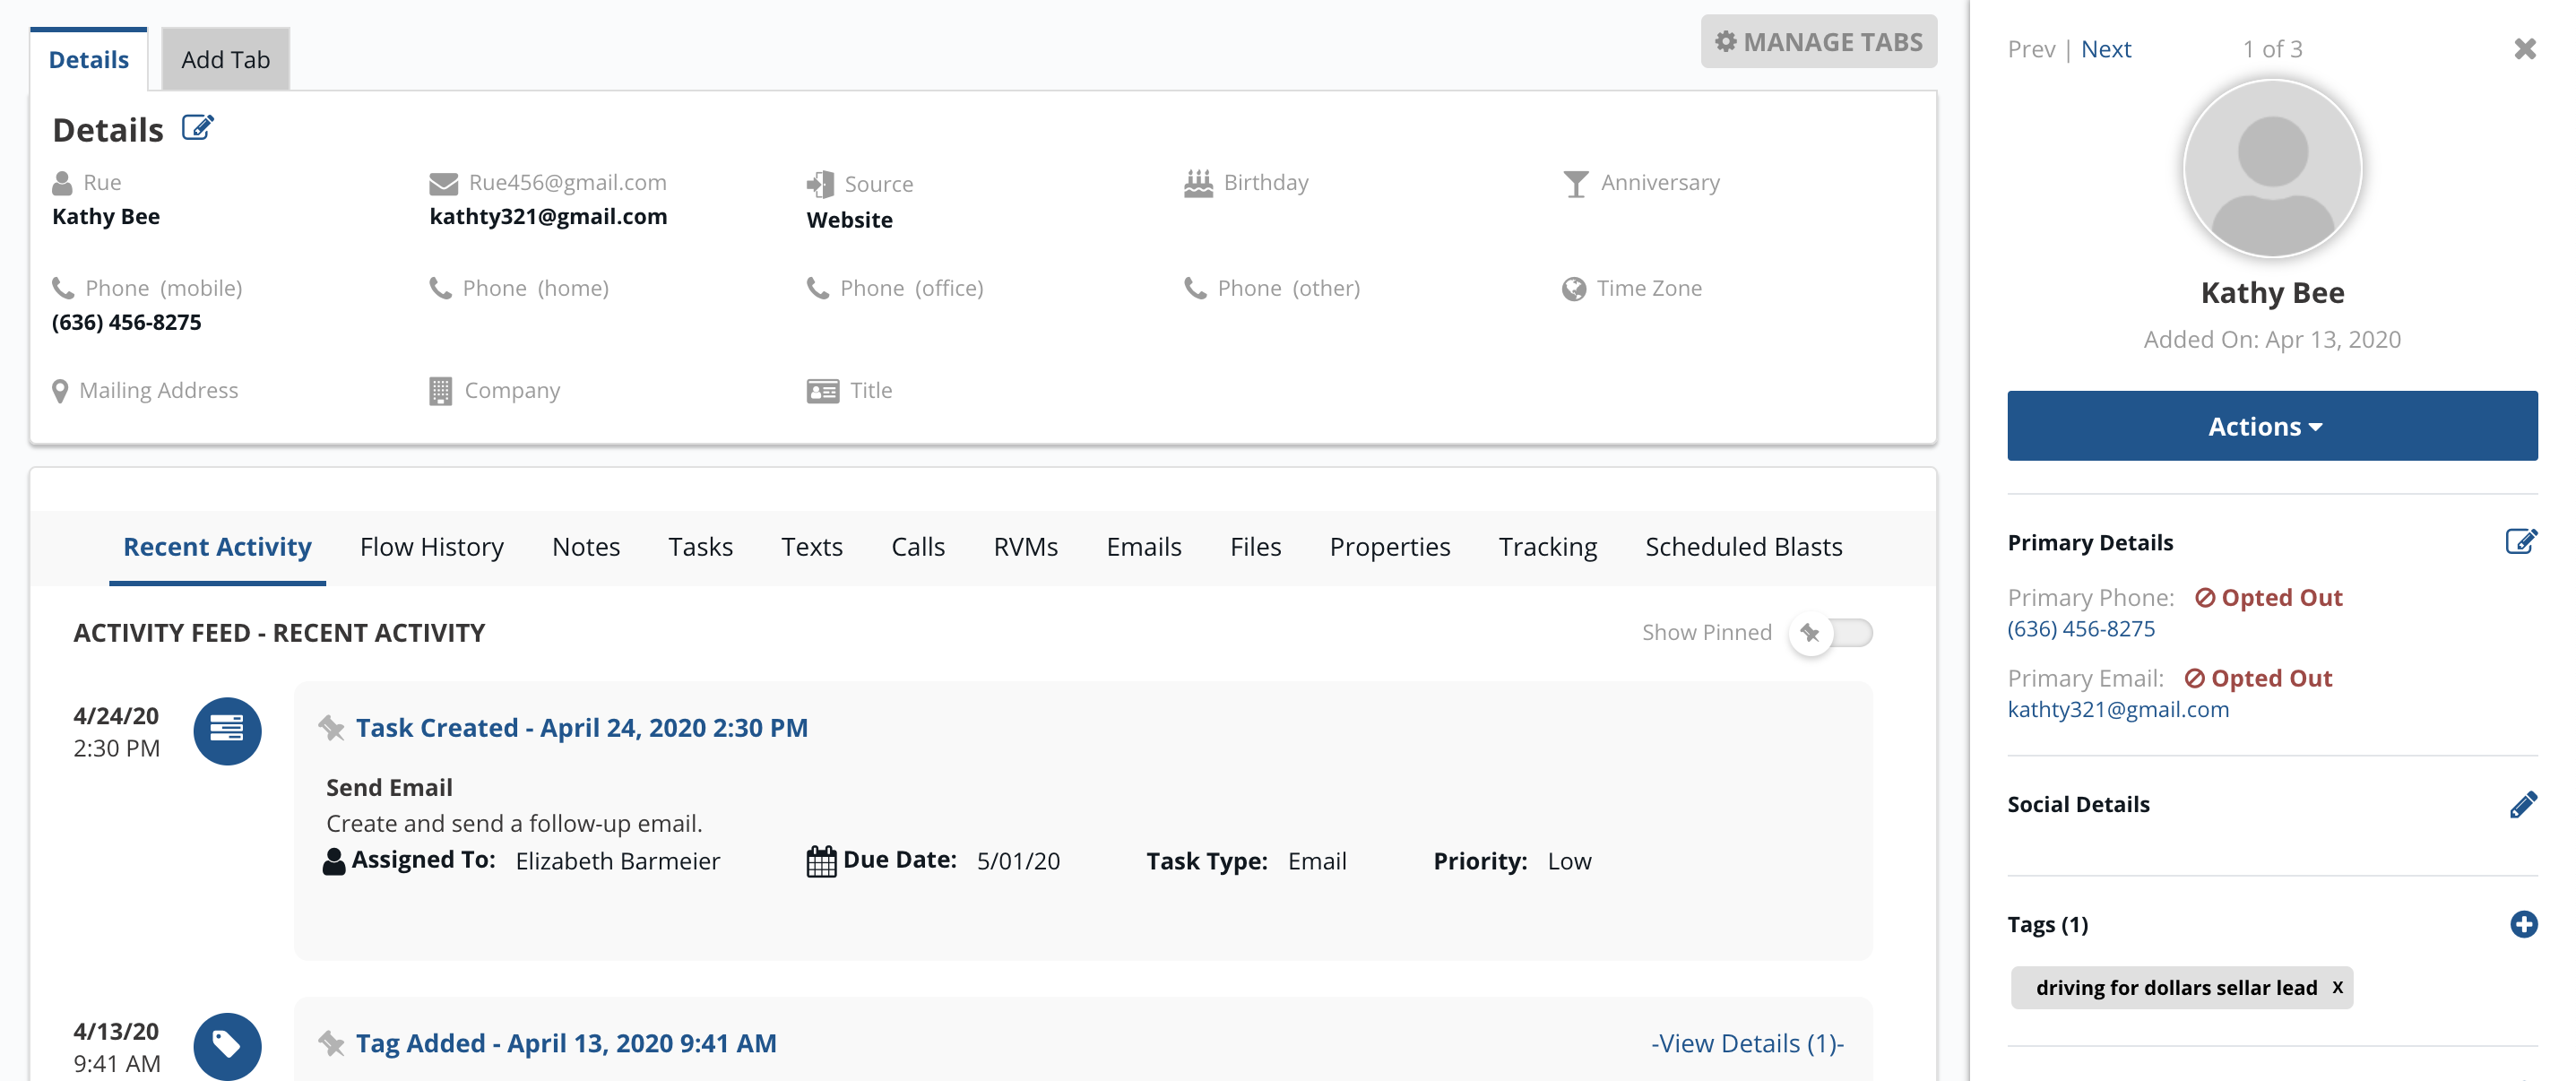
3. You will be directed to that specific contact's record.
Details
The details tab is the default view of your contact's information such as name, phone number, mailing address, and more.
To edit details, click on the details tab and then click on the pencil icon.
Under each section, click on the boxes and type in the information.
When finished, click on Save Profile. To not save the changes, click on Cancel. To remove the tab, click on Remove Tab.

Add Tab
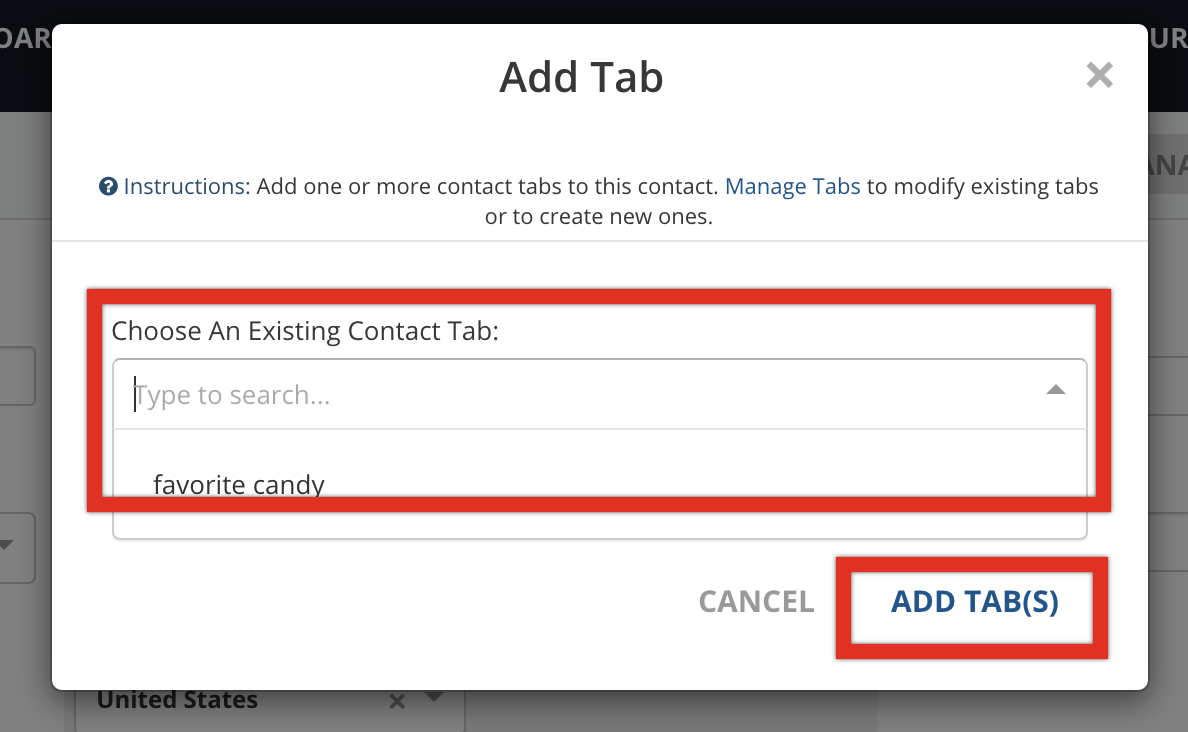
To include contact tabs that you have already created, click on Add Tab located next to details.

Click on the search box and type in the name of your contact tab that you want to add and select your tab. You can choose more than one at a time.
Then, click on Add Tab(s) when finished. To not save, click on Cancel. To exit, click on the X.
To edit your custom contact tab, click on the pencil icon.

Click on the box provided in your contact tab and type in the information. Then, click on Save Profile.
To not save, click on Cancel and to remove the tab, click on Remove Tab.

Manage Tabs
To create, edit and delete contact tabs, click on Manage Tabs located on the left hand-side of Add Tab. You will be directed your contact tabs page.

Recent Activity
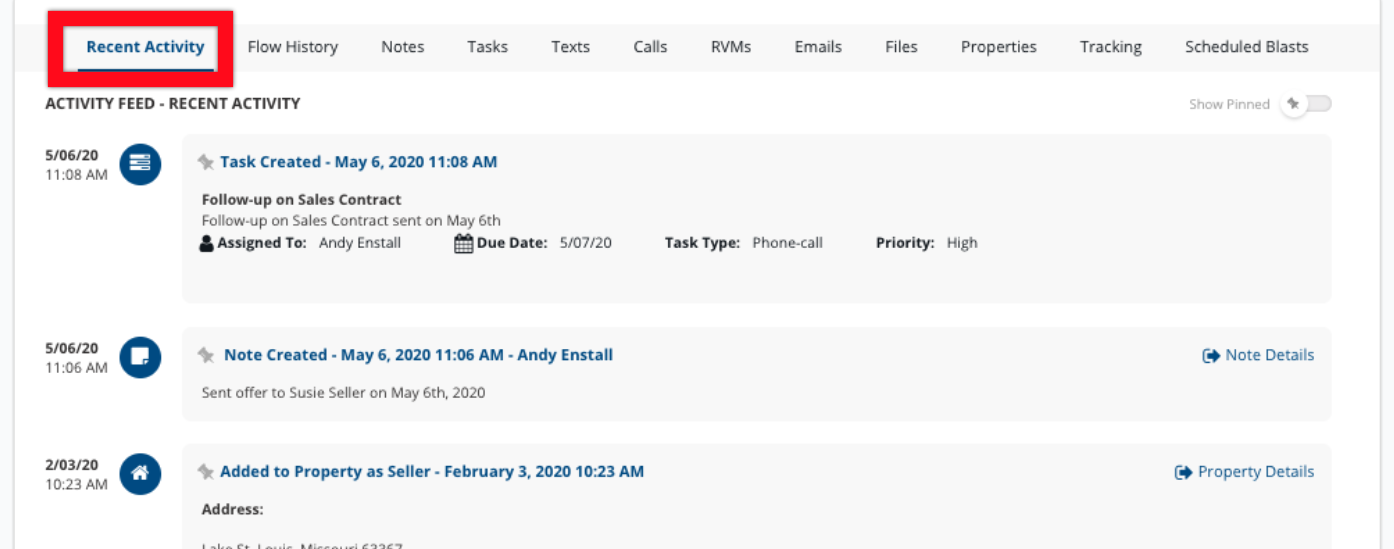
Recent Activity shows you all the events and communication that have happened with a contact including text messages, property assignments, tasks created and more.
Flow History
Flow History shows you all callflows and workflows that have been assigned to this contact.

Notes
Notes show you all of the notes that have been created for this contact.

Tasks
Tasks show you all of the tasks that have assigned concerning this contact.

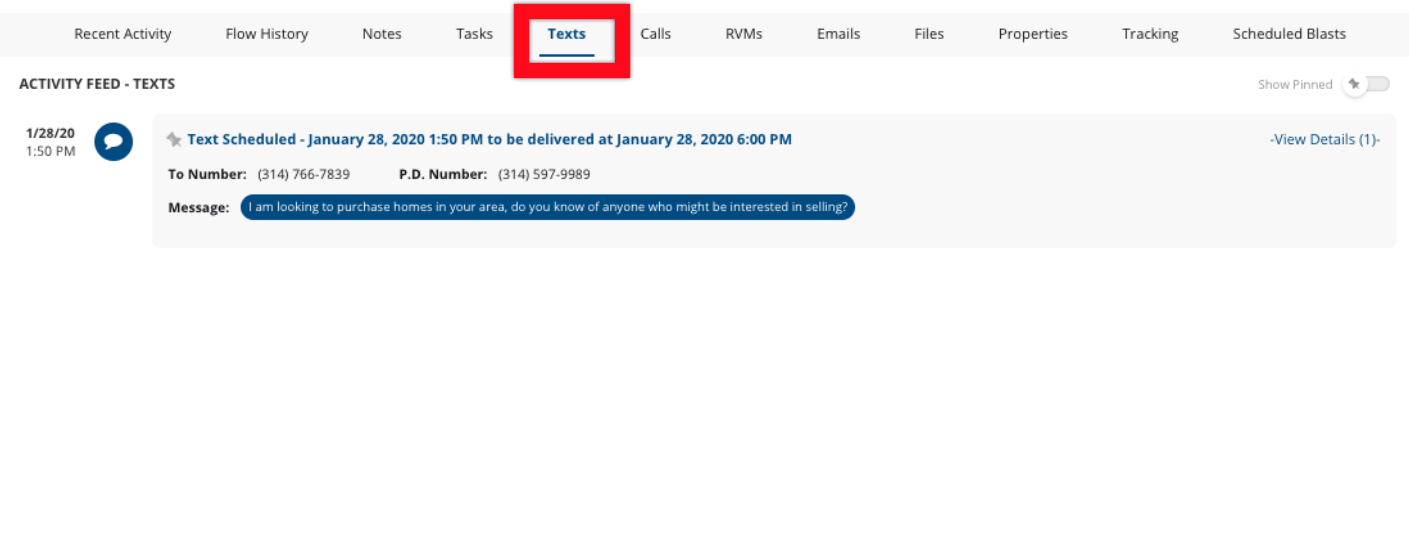
Texts
Texts show you all of the incoming and outgoing text messages between you and your contact. You also can see the status of texts and if they have been successfully delivered.
Calls
Calls show you all of the incoming and outgoing calls between you and your contact.

RVMs
RVMs show you all of the ringless voicemails that been scheduled and delivered to your contact.

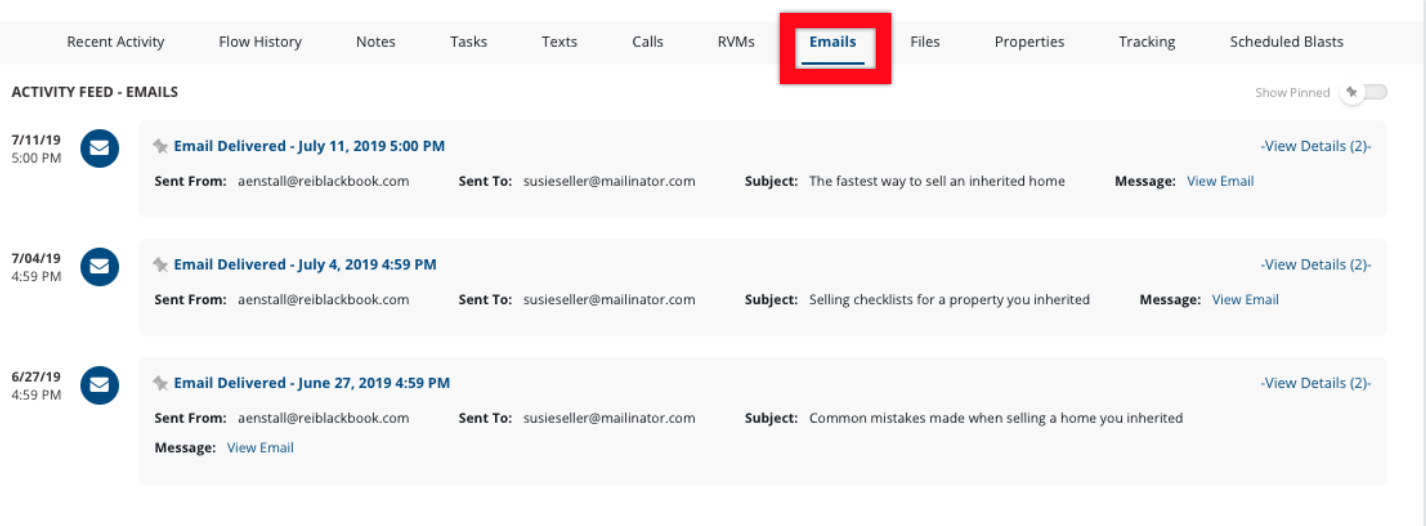
Emails
Emails show you all of the emails that have been scheduled and delivered to your contact.
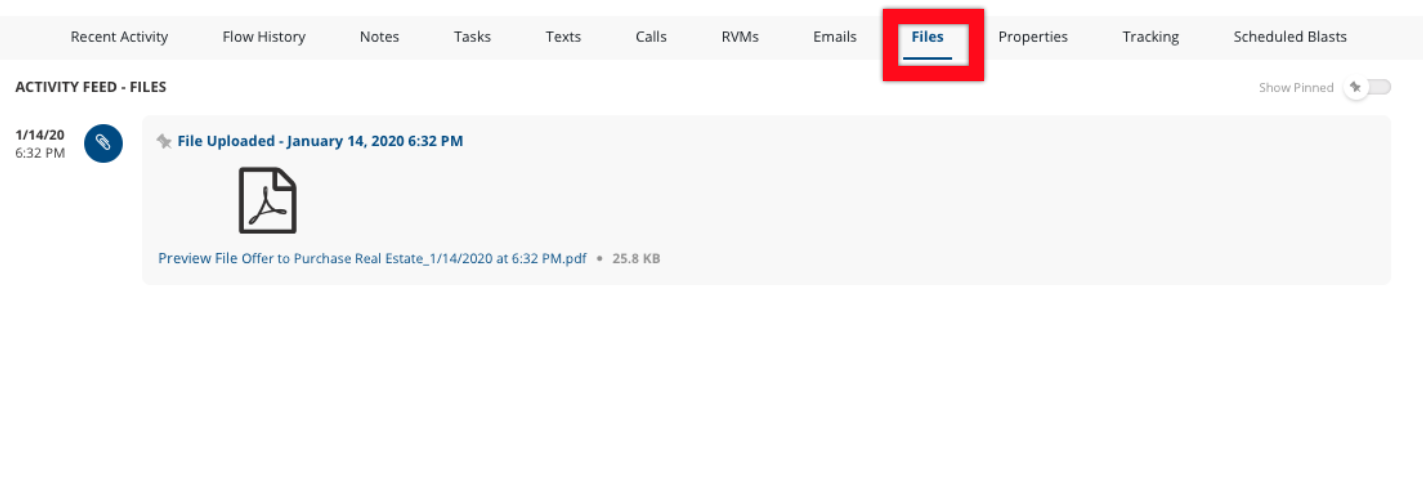
Files
Files show you all of the files that you have uploaded in your contact's record.
Properties
Properties show you all of the properties that have been added to your contact's record.

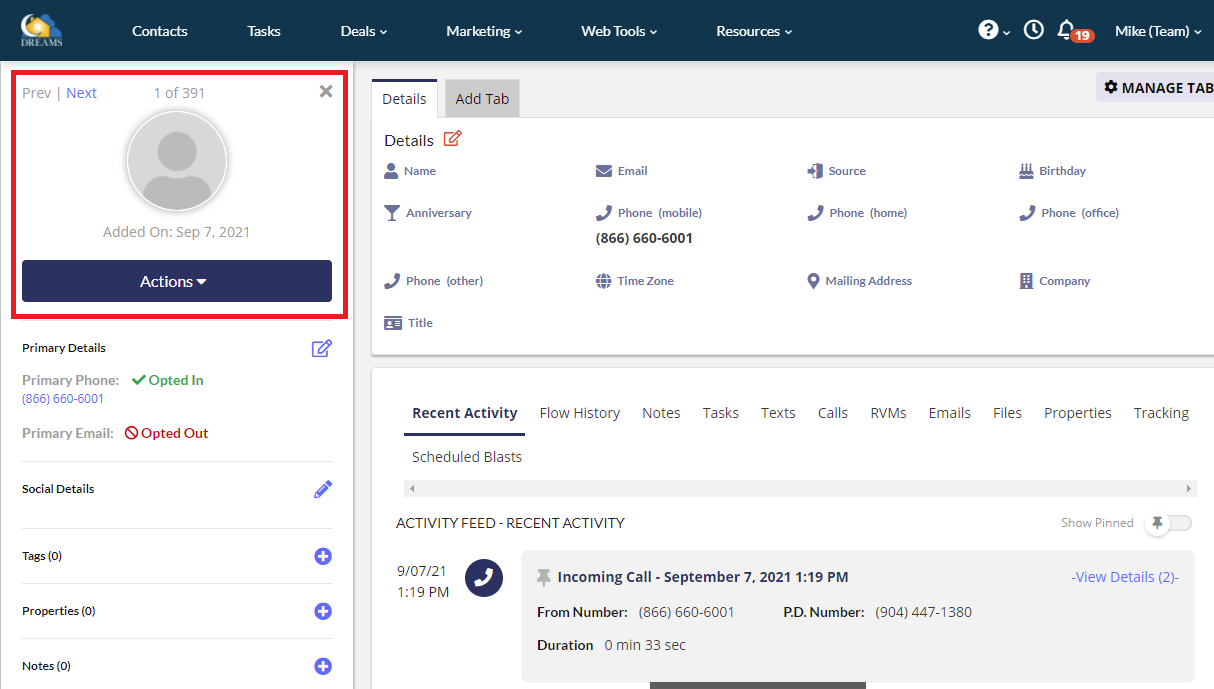
Previous/Next
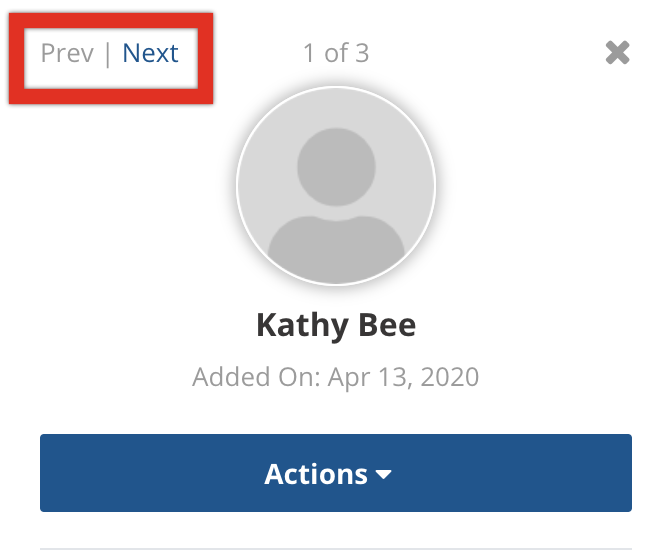
Prev/Next provide an easy way to list through your contacts without having to click your browser's back button all the time, which resets your place in the contact list.
This is especially useful if you filter down your contacts to a small number and then just want to list through them individually.
Exit
To exit a contact record, click on the X button located in the right-hand corner.
Actions
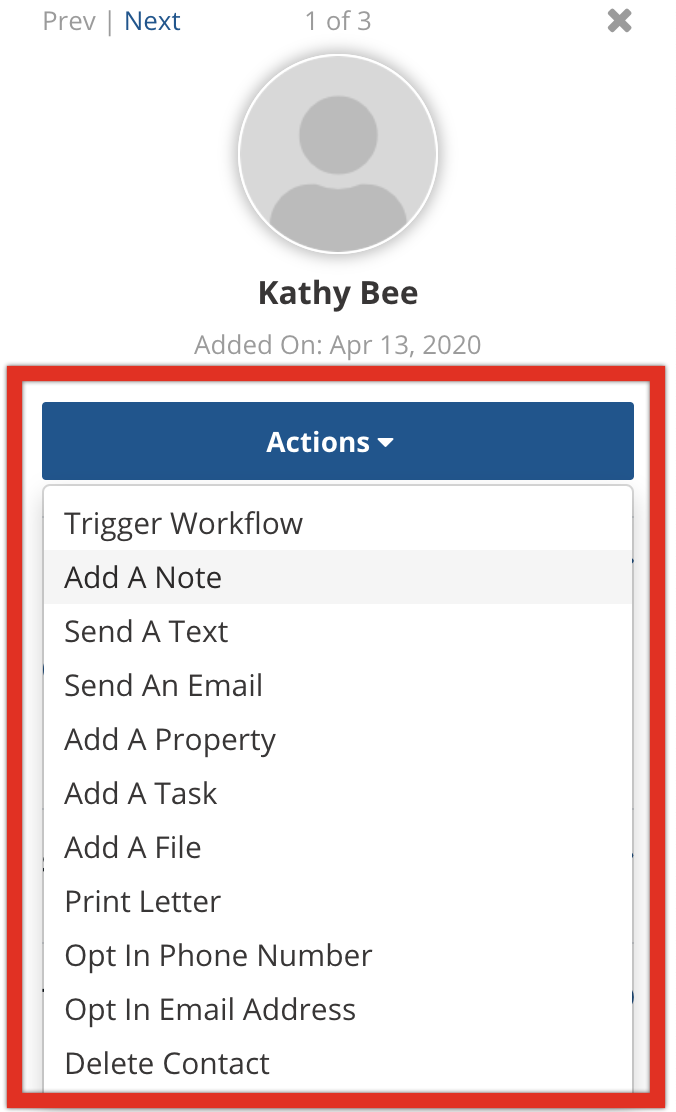
Actions are central part of a contact record. Click on Actions and a drop-down menu will appear.
This allows you apply actions to this certain contact such as trigger a workflow, add a note, send a text, send an email, add a property, add a task, add a file, print a letter, opt in phone number, opt in email address and delete contact.
Primary Details
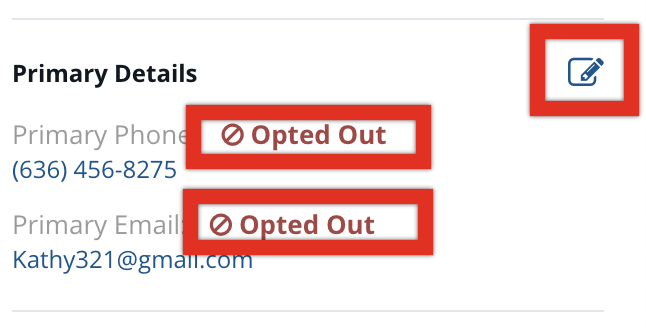
A contact may have multiple email address and phone numbers and this is where you can display their primary contact information.
To edit, click on the pencil icon. You also can change a contact's opt in status by clicking on Opted Out next to the phone number and email address.
After clicking on the pencil icon to edit the primary details, a pop-up box will appear. Click on the boxes to fill in a contact's primary phone number and email.
Click on Save when finished. To not save, click on cancel.

To opt in an email and/or phone click on Opt Out. A pop-up box will appear. Read the following message and check the box next to I have read this notice and understand.
Then click on Opt In, when finished. To not opt in, click on cancel.
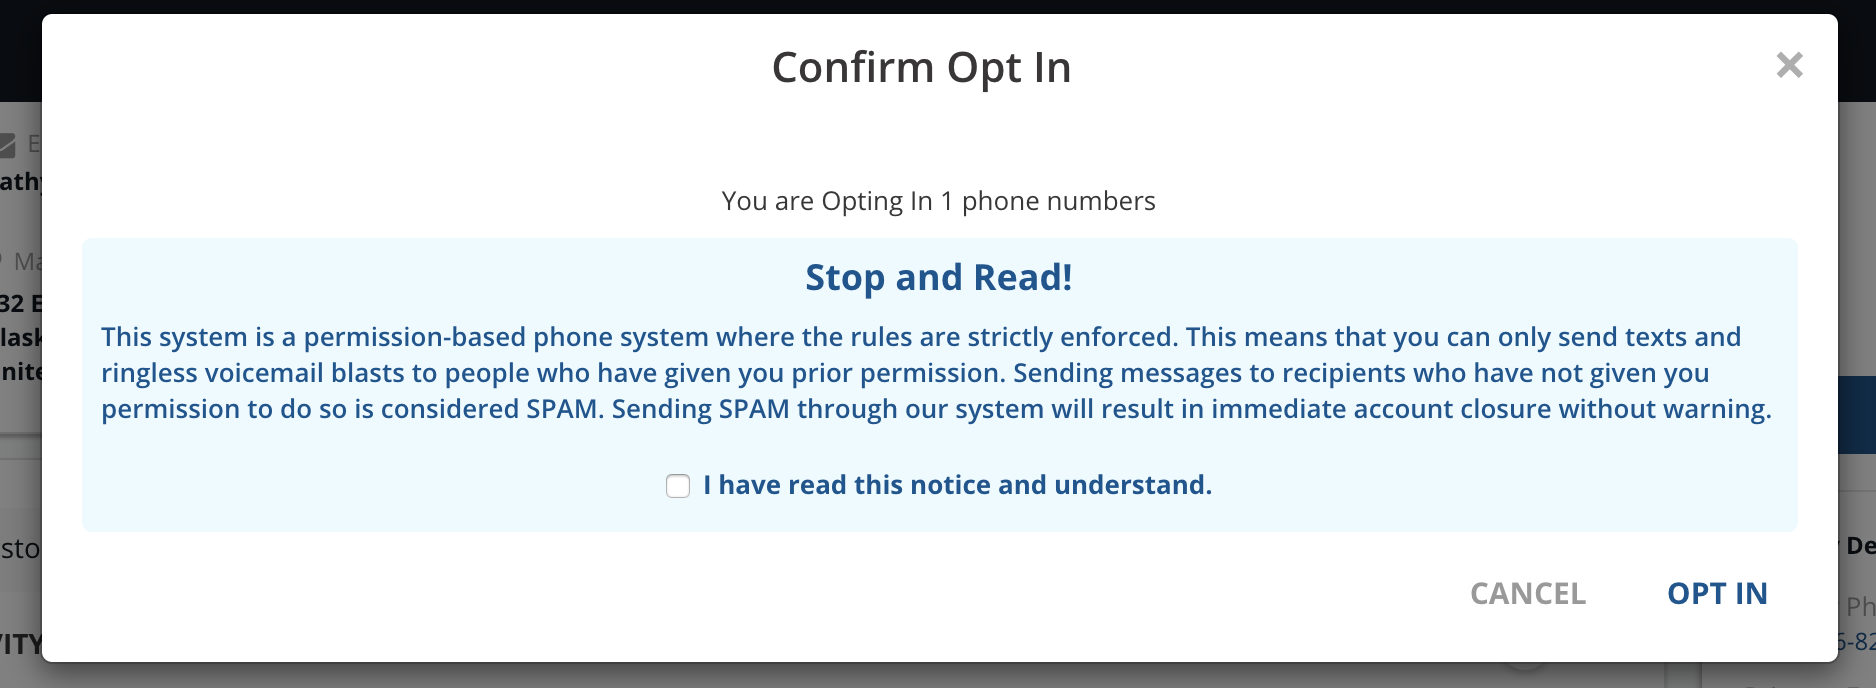
To opt out a phone number and/or email, click on Opt In. A pop-up box will appear. Click on Opt Out. To not opt out, click on cancel.

Social Details
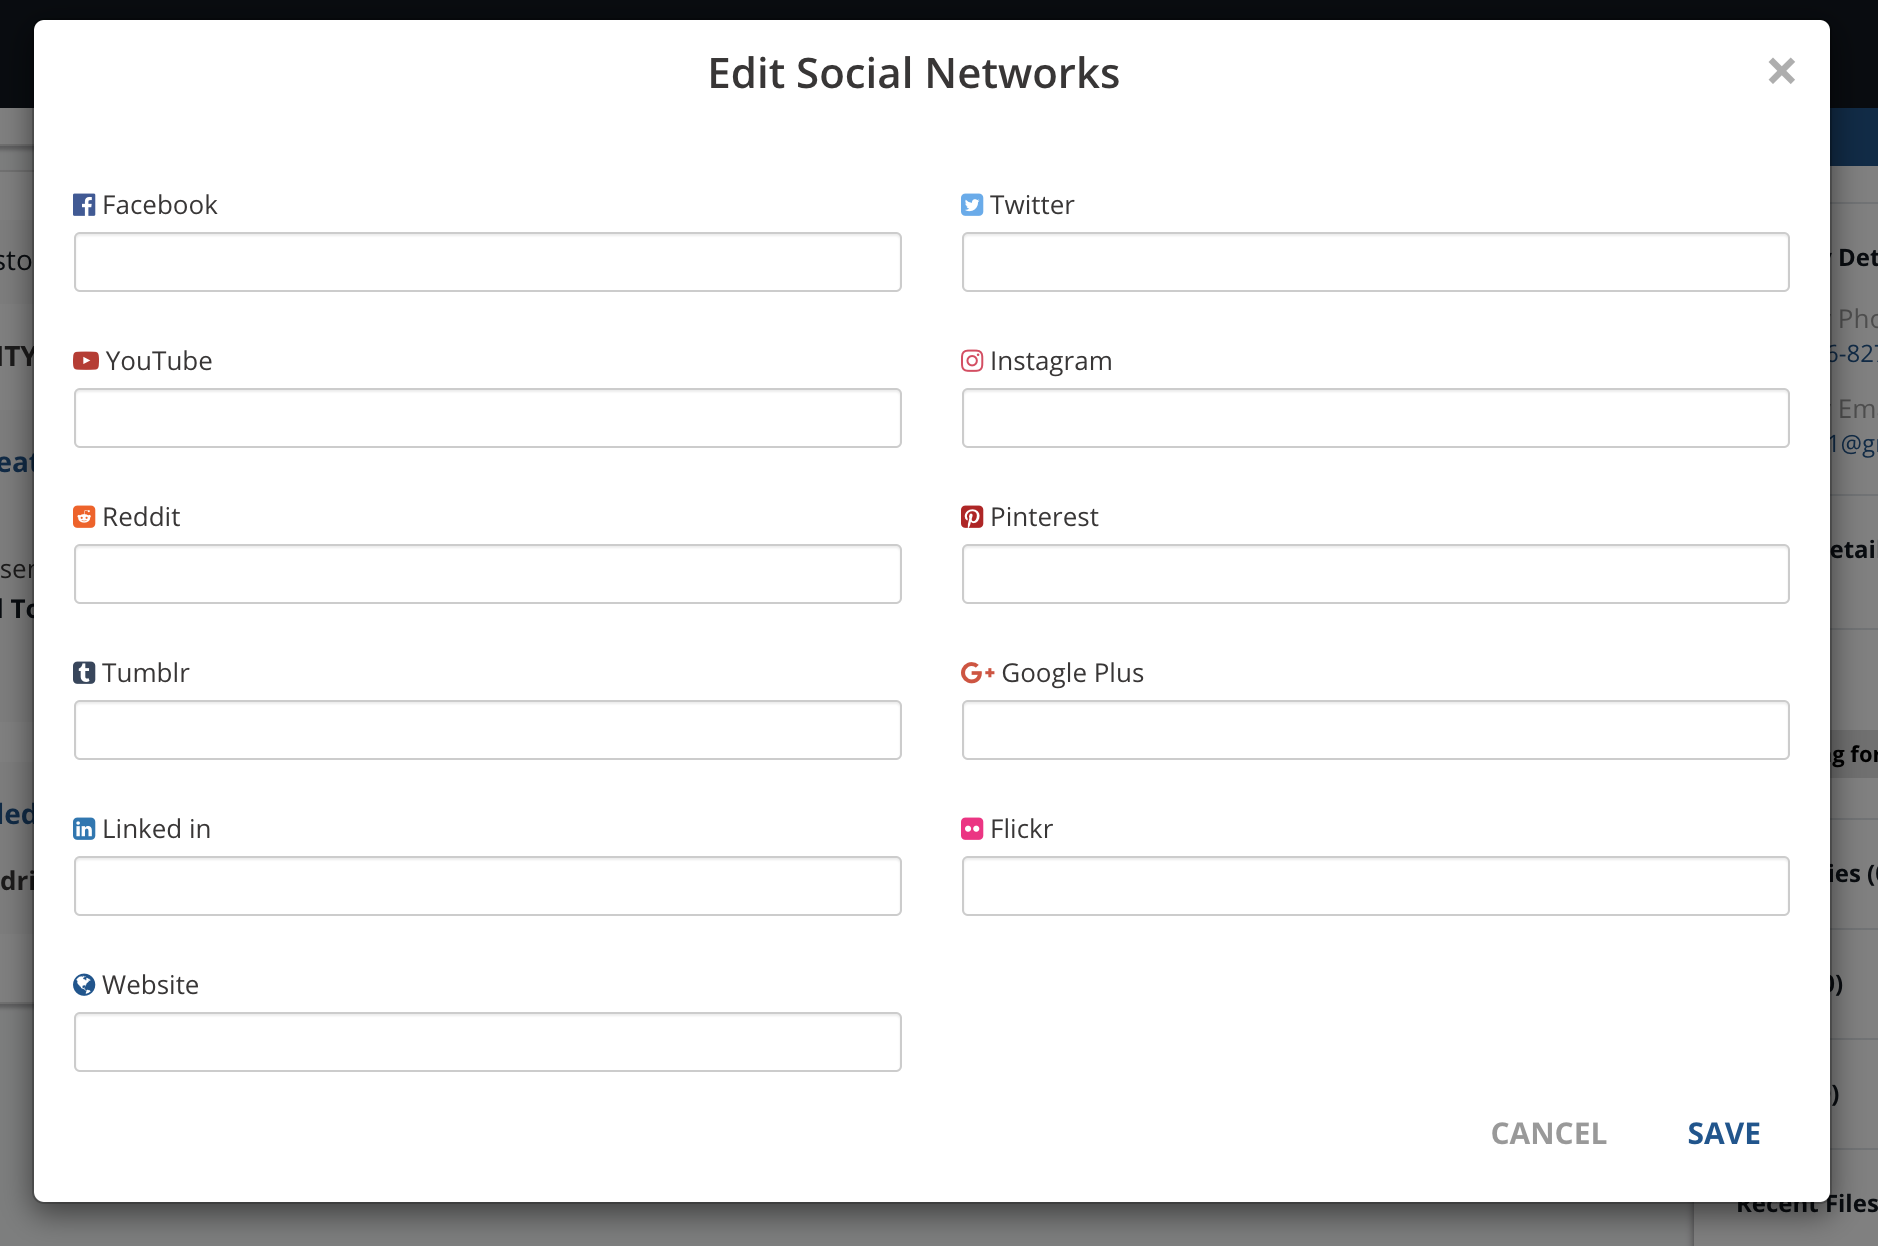
This is a useful module where you add links to your contact's social media platforms such as Facebook, Instagram, Twitter and more.
Click on the pencil icon to add a contact's social media platform.

A pop-box will appear. Click on the boxes provided and type in the links to a contact's social media accounts.
Click on Save, when finished. To not save, click on Cancel.
Tags
Tags are useful in differentiating between groups of contacts. If your tags are not showing, but there is a number, it means that they are being hidden, which can be changed in your tags page.
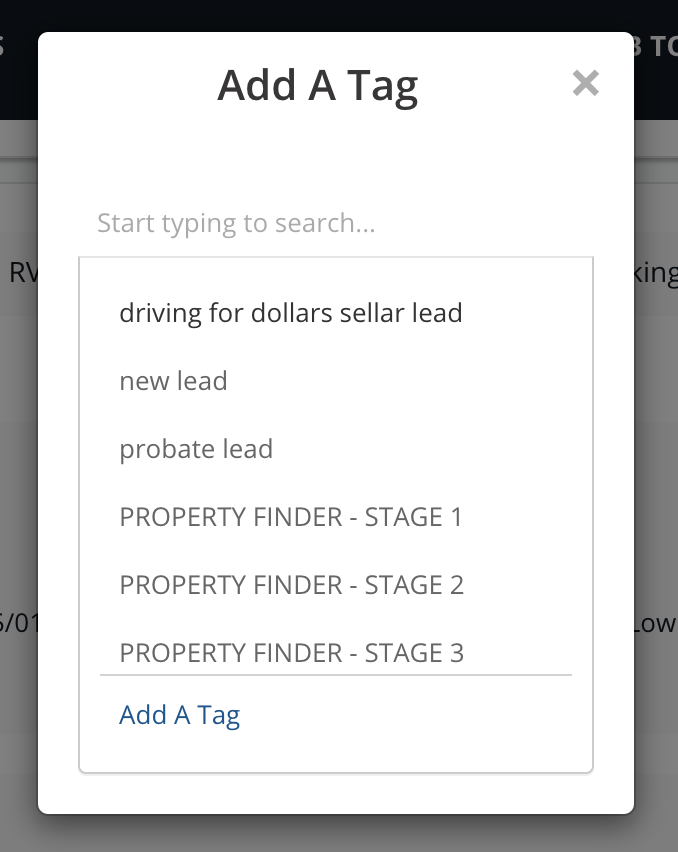
To add a tag, click on the plus sign icon.

A pop-up box will appear. Choose from your list of created tags. You also can click the search box and type in the name of the tag you are looking for.
Add multiple tags at one time.
Click on Add A Tag when finished. To not add a tag, click on the X located in the right-hand corner.
Properties
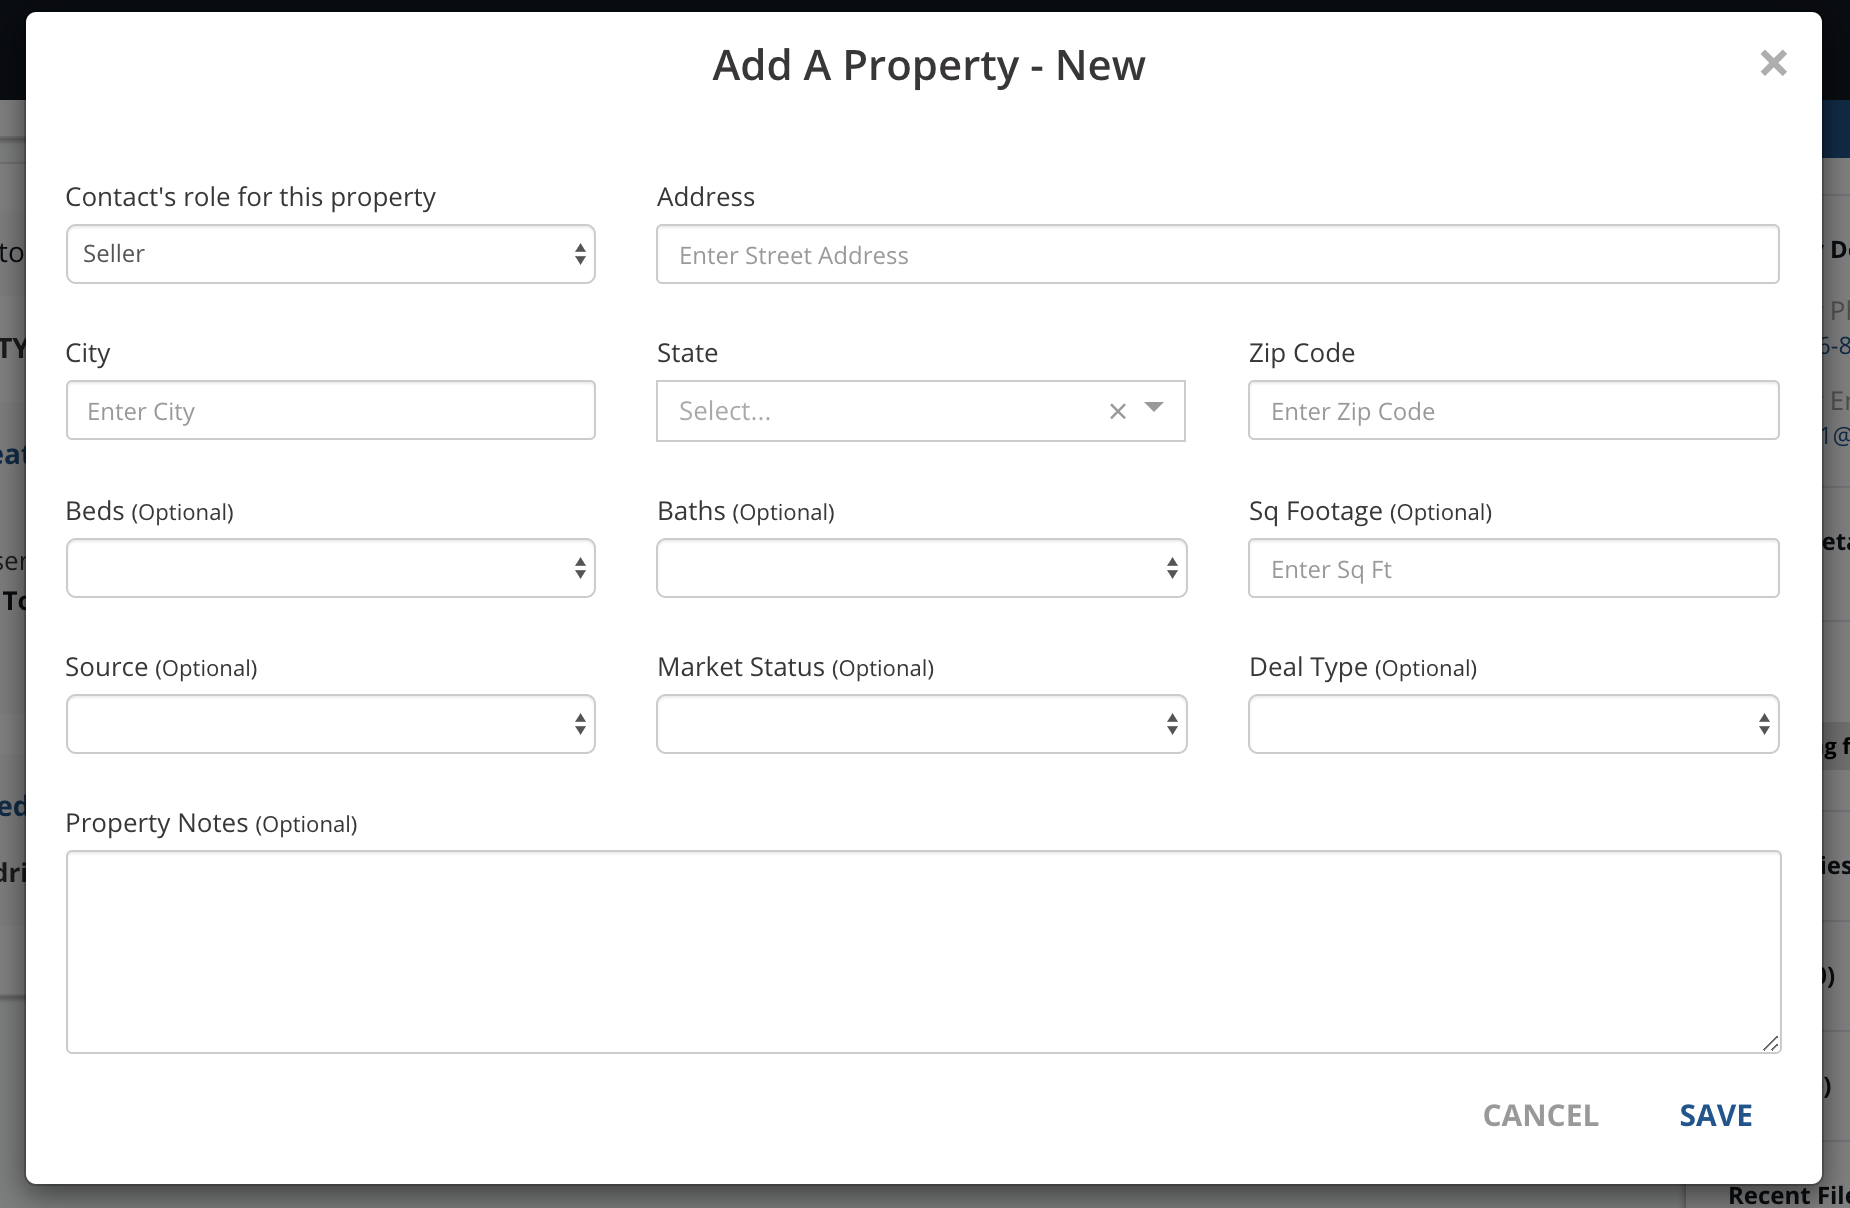
If this contact is a seller, or is tied to a specific property, you can use this module to include their property and even add a new property to your pipeline.
To add a property, click on the plus sign icon.

A pop-up box will appear. You can choose to add a new property or choose an existing property that you have already entered.
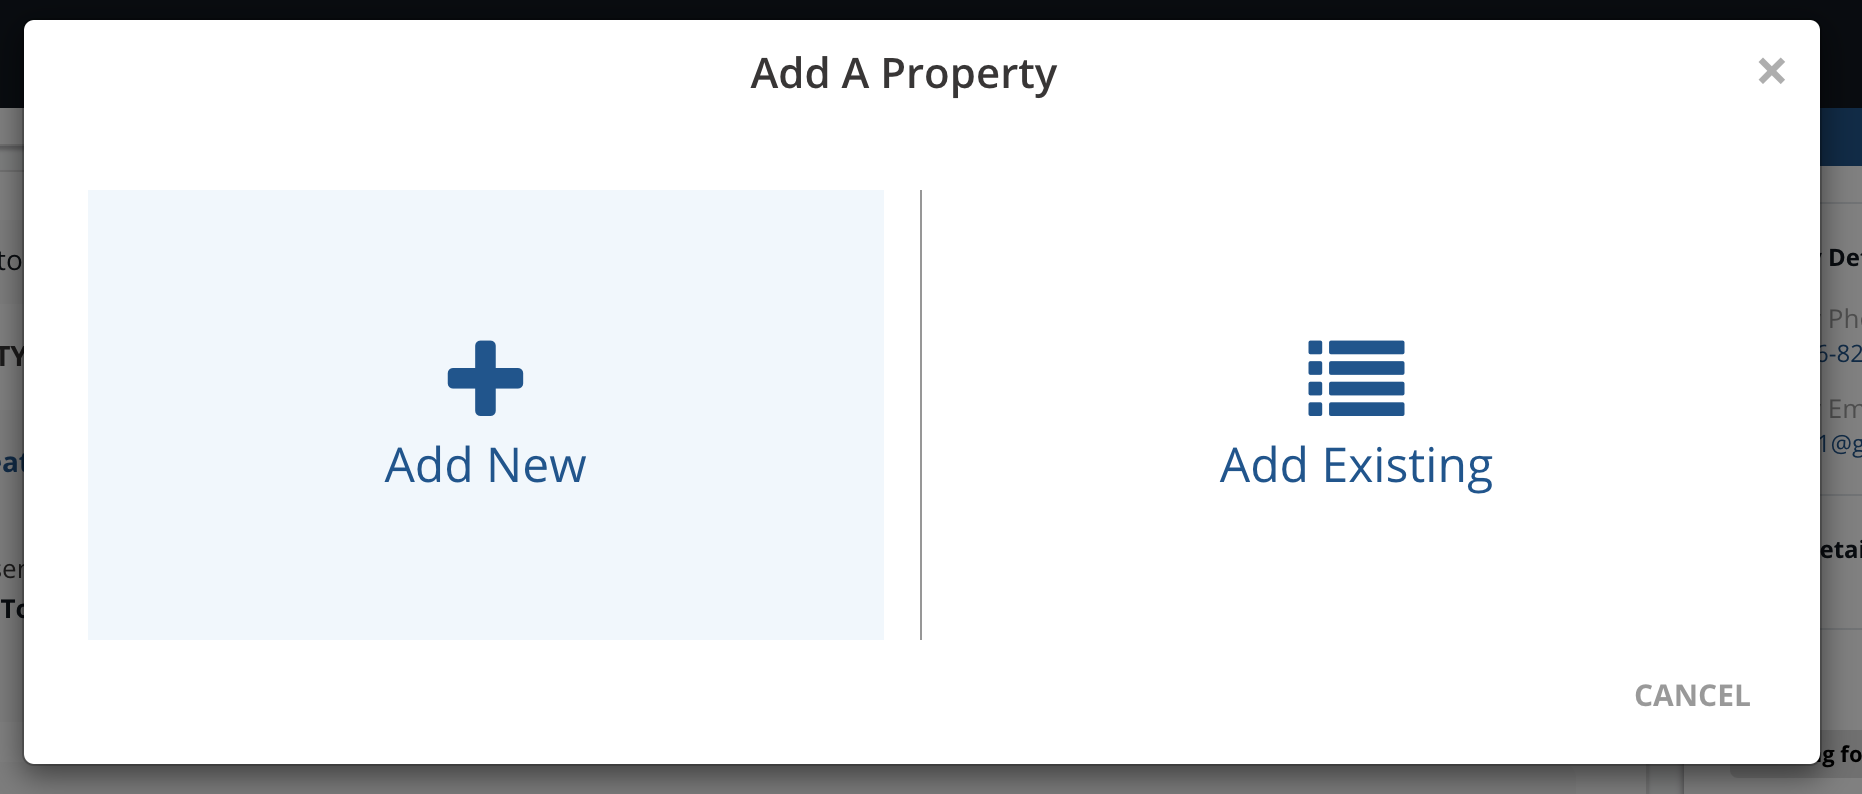
For a new property, click on the boxes provided and type in the information.
Click on Save when finished. To not save, click on Cancel.
For an existing property that you have already entered in your account, click on the boxes and type in the information to search for the property.
Click on save when finished. To not save, click on Cancel.

Notes
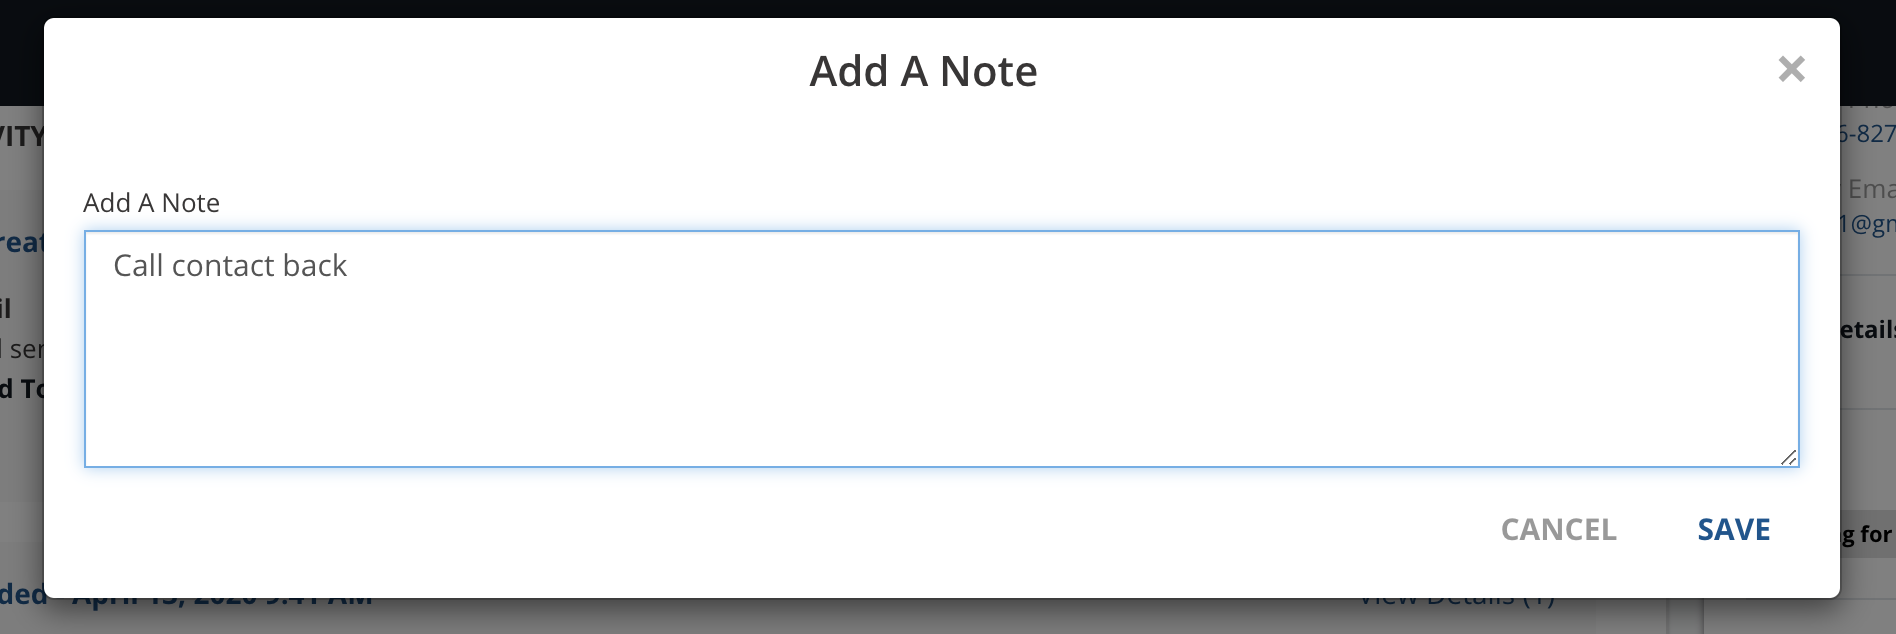
This is another place where you can add notes about your contact. To add a note, click on the plus sign icon.

A pop-up box will appear. Click on the box and type in your note.
Click on Save when finished. To not save, click on Cancel.
Tasks
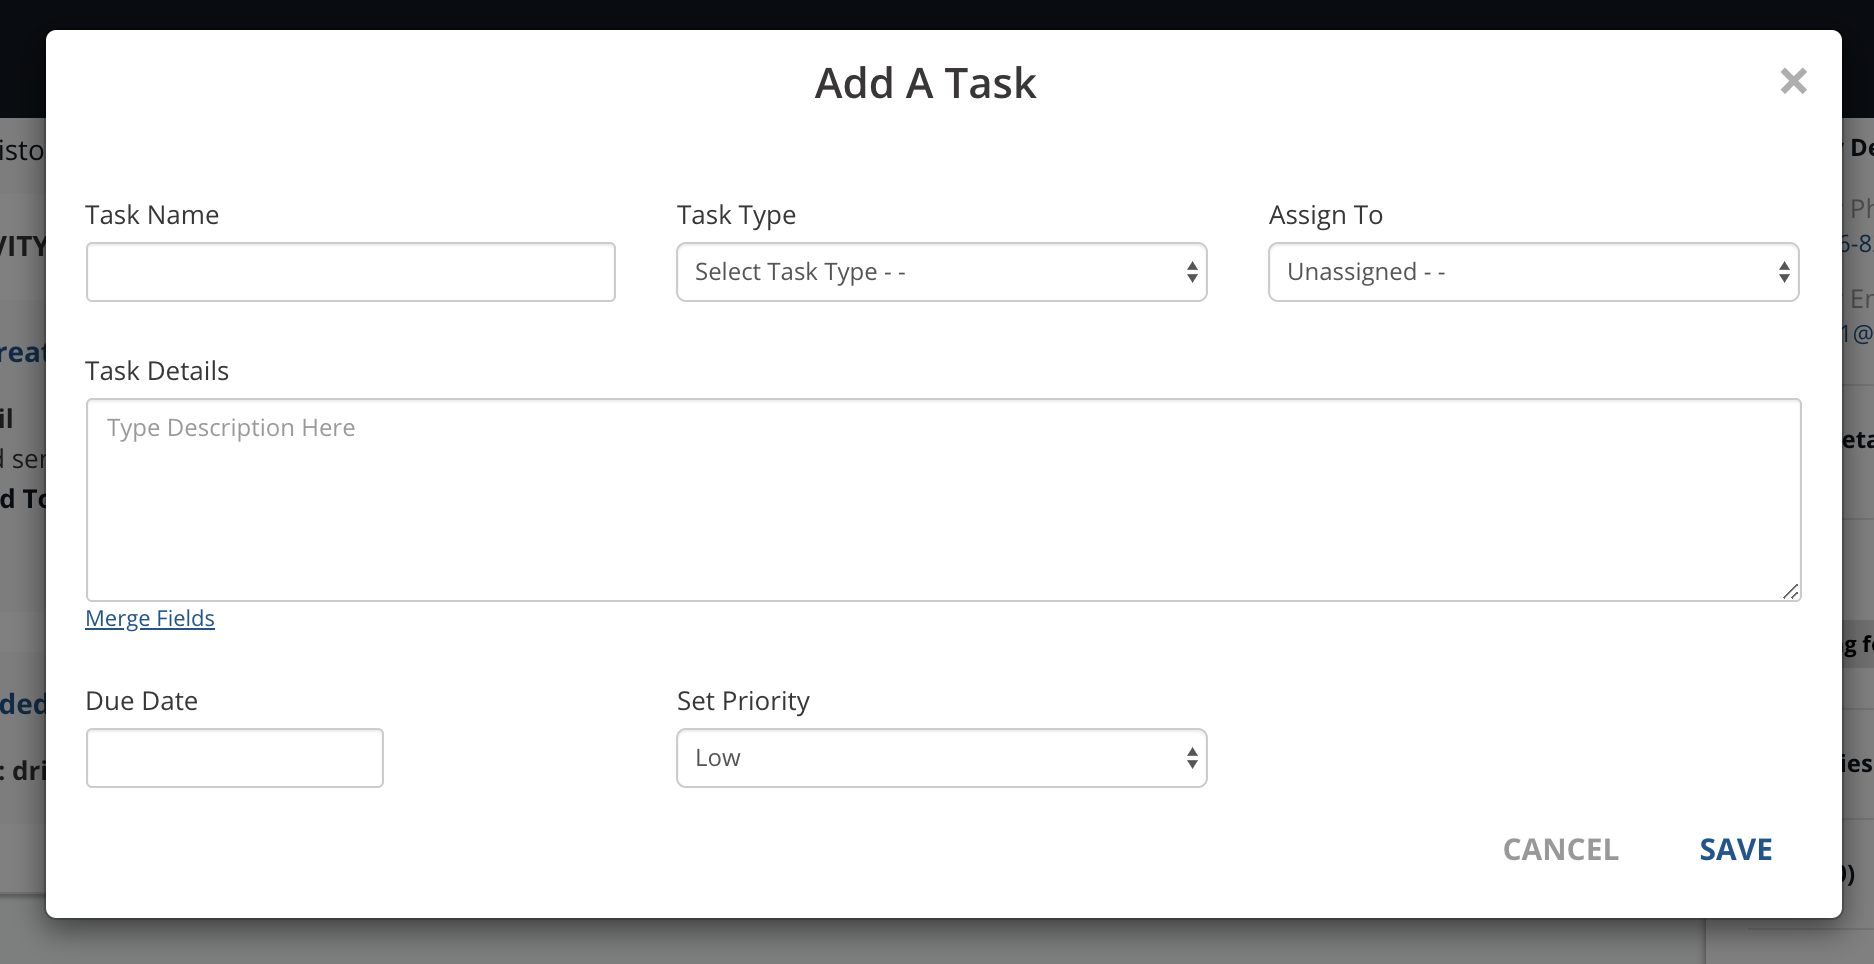
As in the sidebar view, tasks for your contact are displayed here as well. To add a task, click on the plus sign icon.

A pop-up box will appear. Click on the boxes provided and type in the information.
Click on Save when finished. To not save, click on Cancel.
Recent Files
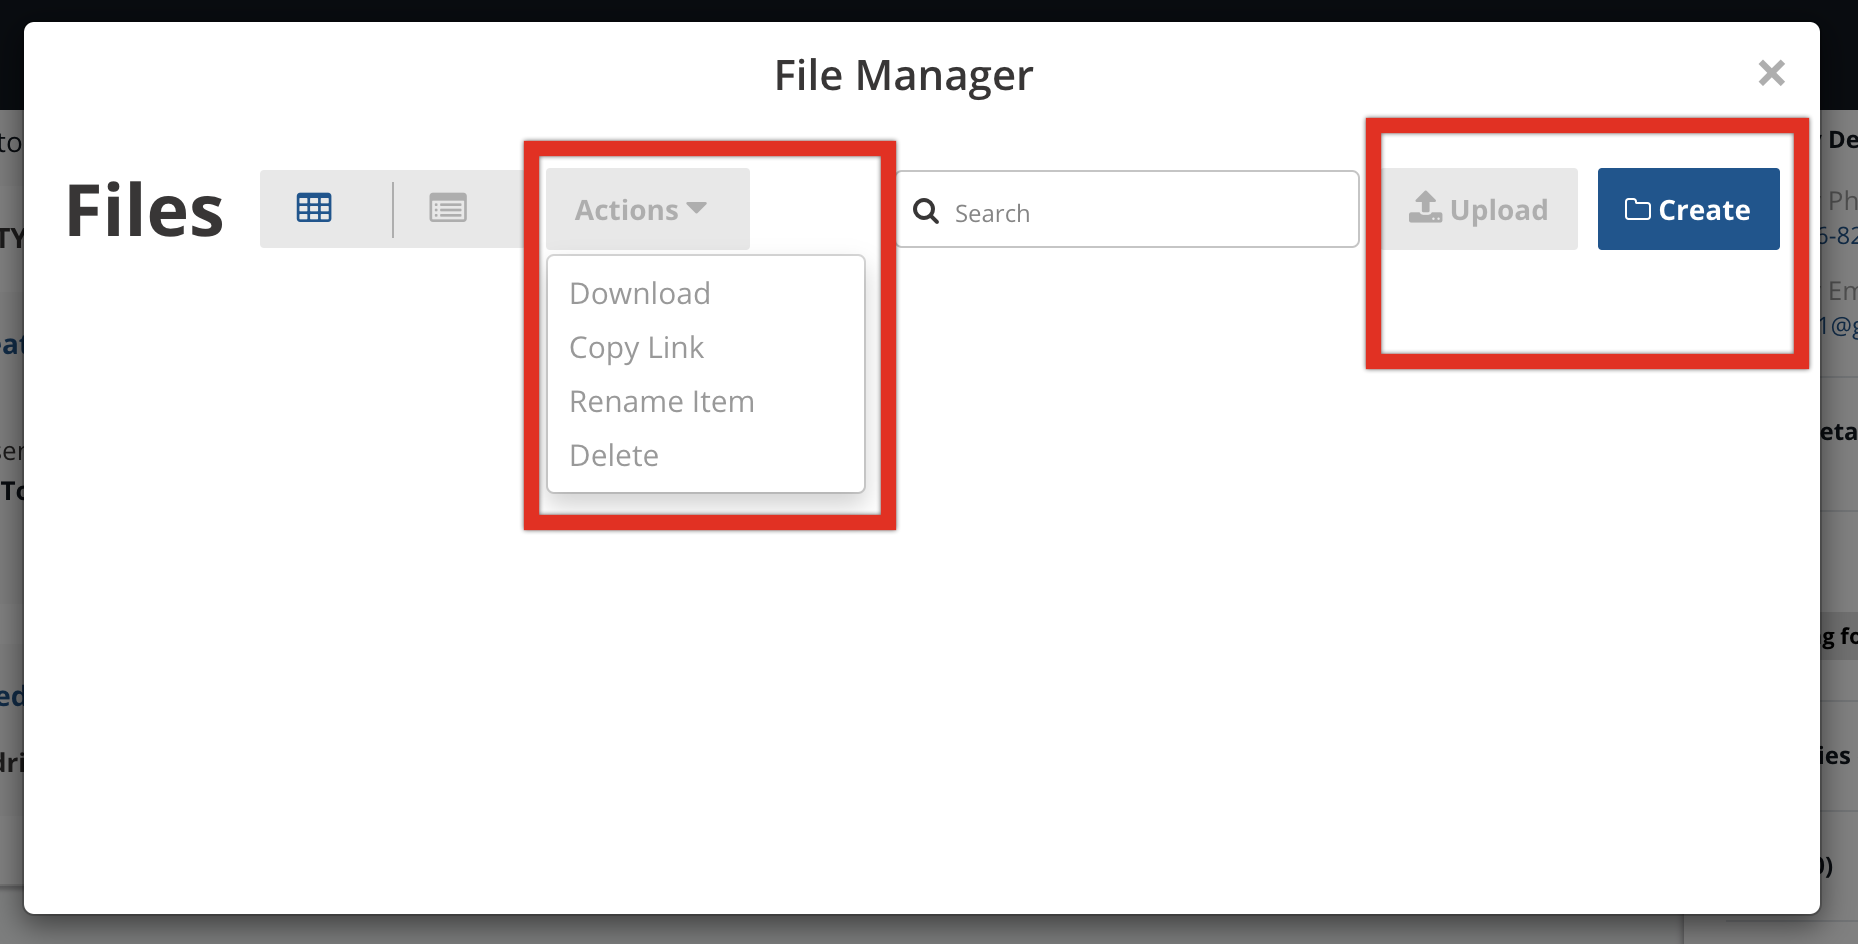
Any files that you uploaded and want to assign to your contact will be shown here. To add a file, click on the plus sign icon.

A pop-up box will appear. To upload a file that you have already created, click on Upload. To create a new file, click on Create.
If files are already in your file manager, click on Actions and choose from the options in the drop-down menu.
Thank You!
We appreciate you taking the time to navigate around your contact records!
If you have any questions or concerns about this information please contact us at VASupport@Globalpublishing.com